FLASH SALE Get 20% OFF everything using the coupon code: FLASH20 View Pricing Plans →

Knowledge Base

Documentation

Theme Documentation


Plugin Documentation


Resources

Customizing WooCommerce Shop and Product Pages

This article refers to Inspiro Premium

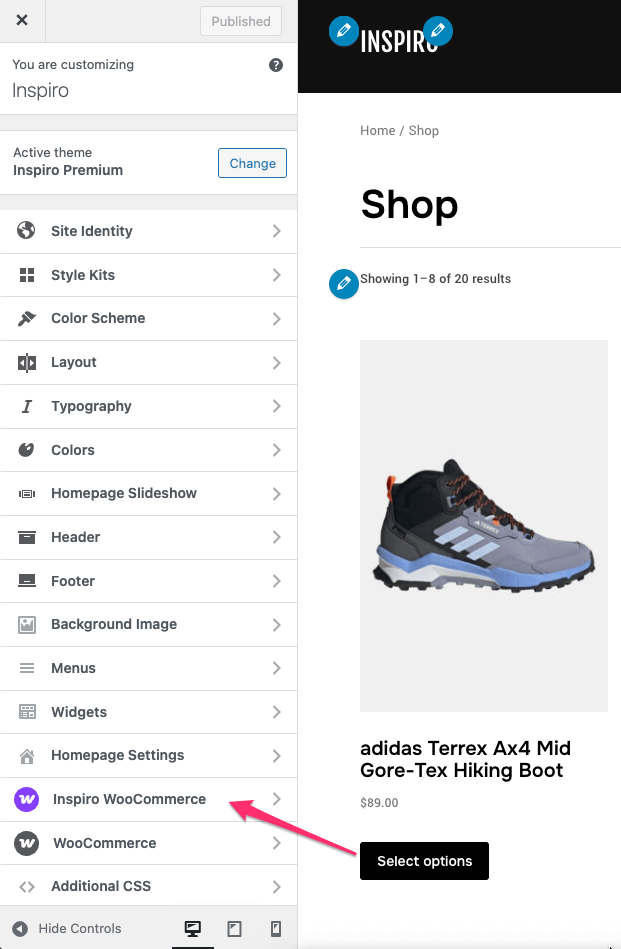
Inspiro Premium is fully integrated with WooCommerce, allowing you to create a professional and functional online store. Once WooCommerce is installed and configured on your site, you’ll gain access to additional theme settings and customization options specific to shop and product pages.

1. Inspiro WooCommerce Settings

Inspiro’s WooCommerce settings are located in Appearance → Customize → Inspiro WooCommerce

This panel includes the following sub-sections:

  • Quick View
  • Shop
  • Single Product

2. Shop Page Customization

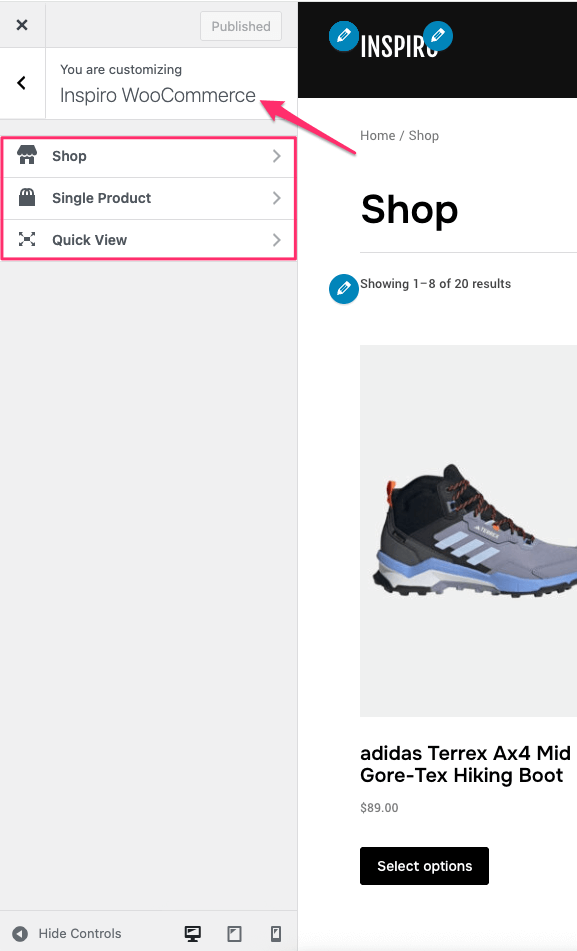
Go to Appearance → Customize → Inspiro WooCommerce → Shop

Here you can adjust:

  • Shop Page Layout: Choose between Sidebar on the left, Full Width, or Sidebar on the right layouts.
  • Enable Product Customization: Enable to reorder or customize the position of product card elements.
  • Content Alignment: Align content left, center, or right.
  • Price Display: Choose between Regular, Old price – Aside or Old price – Under
  • Reviews Display: Show stars only or star & text.
  • Label Placement: Adjust where the product labels (e.g., Sale, Featured) are placed.
  • Add to Cart Position: Choose where the add-to-cart button appears. Separate settings are available for desktop and mobile.

💡 To change the number of products per row or thumbnail image size, go to the WooCommerce section in the Customizer.


3. Single Product Page Customization

Go to Appearance → Customize → Inspiro WooCommerce → Single Product

Here you can customize:

  • Single Product Page Layout: Choose between Sidebar on the left, Full Width, or Sidebar on the right.
  • Gallery Position: Align the main product gallery Left or Right.
  • Thumbnails Position: Position thumbnails Left, Right, Bottom.
  • Enable Image Popup: Enable a lightbox popup for product images.
  • Enable Zoom Effect on Images: Adds a zoom feature on hover.
  • Display Arrows: Show or hide navigation arrows in the gallery.

4. Quick View Options

Go to Appearance → Customize → Inspiro WooCommerce → Quick View

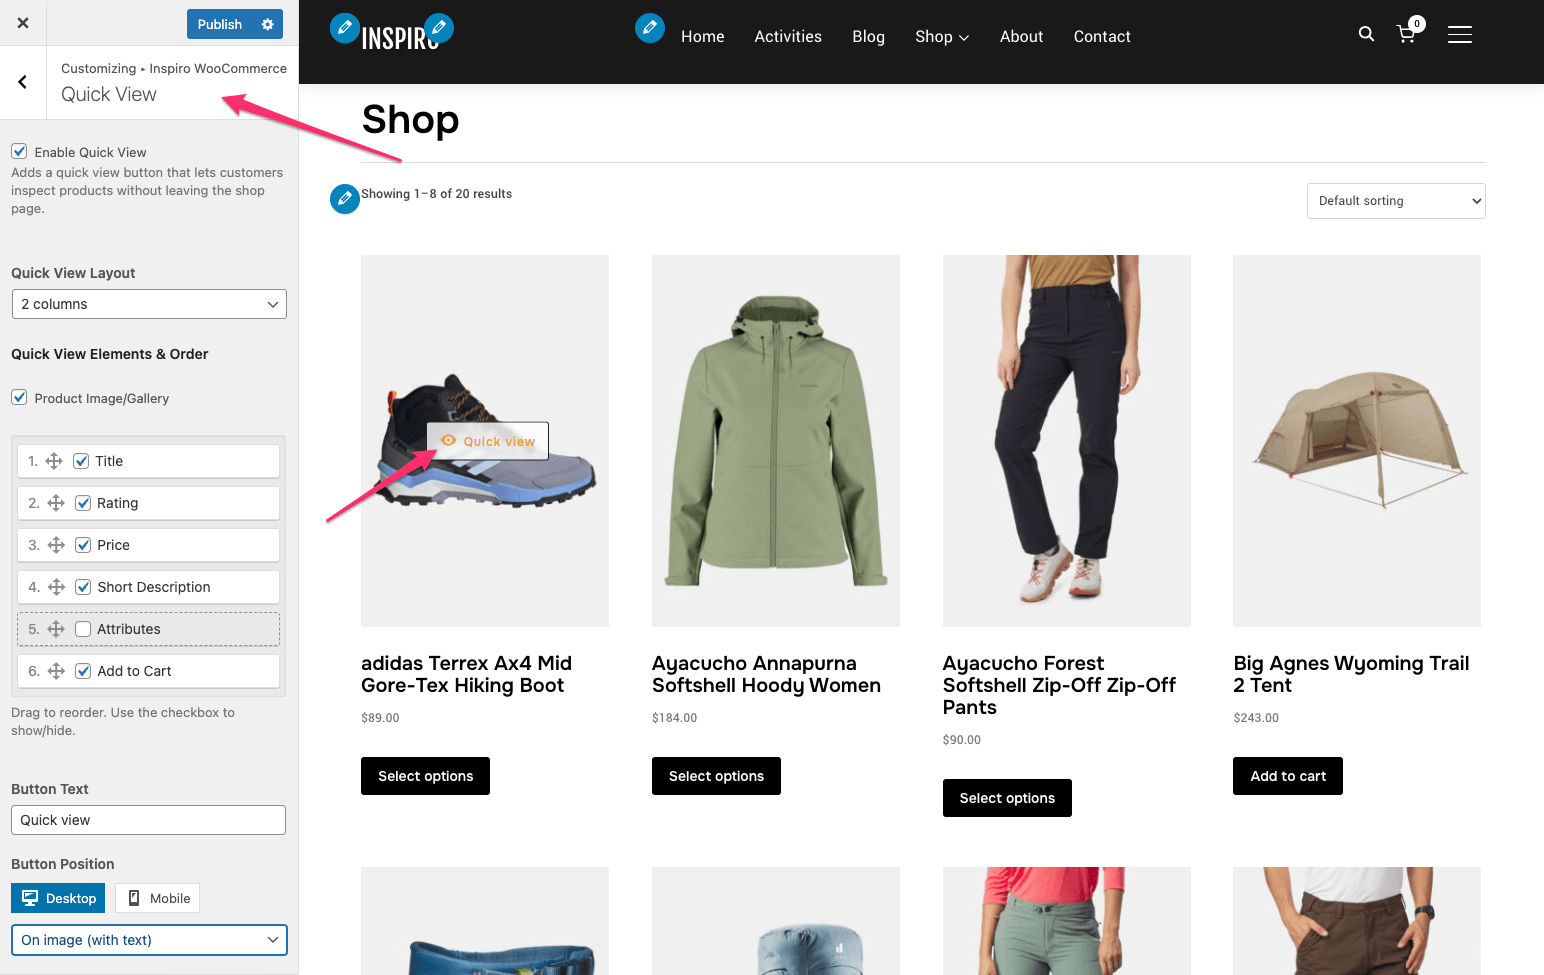
Here you can enable and configure a quick view modal for products:

  • Enable Quick View: Turns on the feature across the shop page.
  • Quick View Layout: Choose between 1 column or 2 columns.
  • Quick View Elements & Order: Reorder and toggle visibility of:
  • Title
  • Rating
  • Price
  • Short Description
  • Attributes
  • Add to Cart
  • Button Text: Customize the text shown on the Quick View button.
  • Button Position: Choose where the button appears. Separate settings for desktop and mobile are available.

5. Default WooCommerce Customizer Options

Additional WooCommerce settings can be found in Appearance → Customize → WooCommerce.

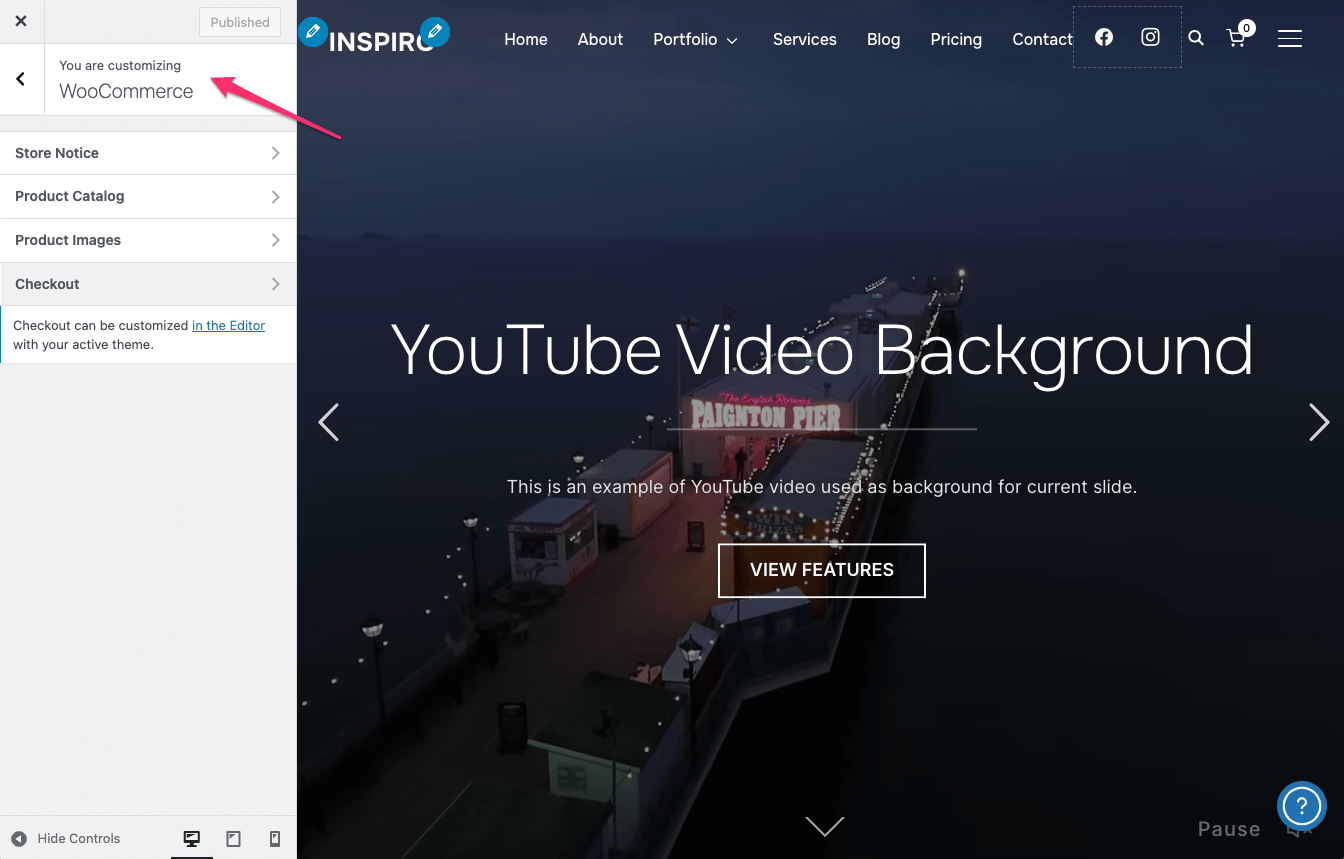
Here you can configure:

  • Store Notice – Display a message sitewide (e.g. sale announcement, shipping delay)
  • Product Catalog – Define how products appear in the shop and category pages (sorting, number of columns, what content to show)
  • Product Images – Set image cropping and thumbnail ratios
  • Checkout – Most visual changes to the checkout page can be made by editing the Checkout page directly using the block editor

These options help you control the general structure and behavior of your store without editing code.


6. Customizing WooCommerce Pages with Page Builder

Depending on whether you use Elementor or the Block Editor, you can make layout changes directly from the editor interface.

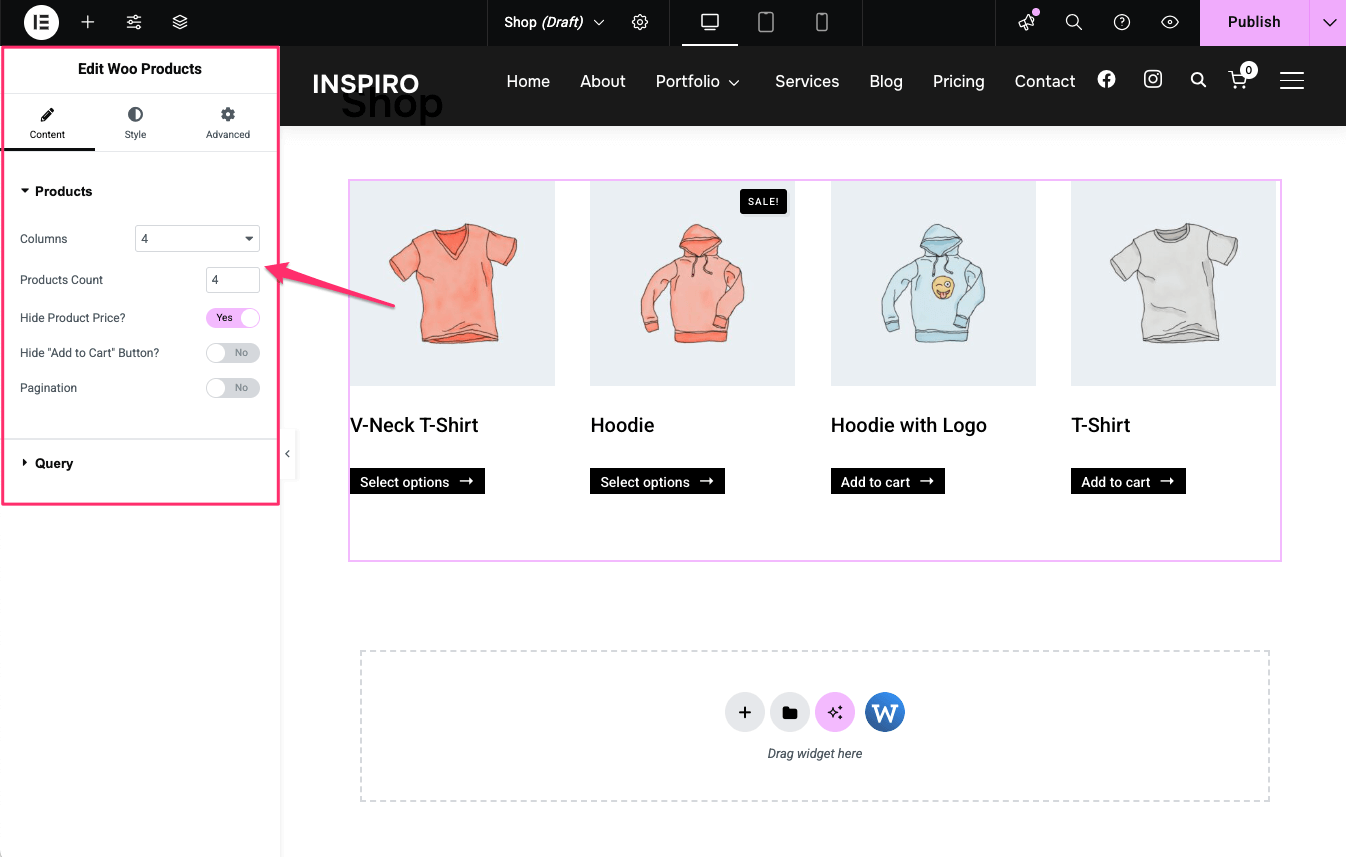
If you install and activate the WPZOOM Addons for Elementor plugin, you will have access to the Woo Products widget.

Use the widget on any Elementor page to display products.

After adding the widget, adjust its settings in the Elementor left sidebar, including layout, columns, and style.

Use the WooCommerce blocks to build or modify your shop pages.

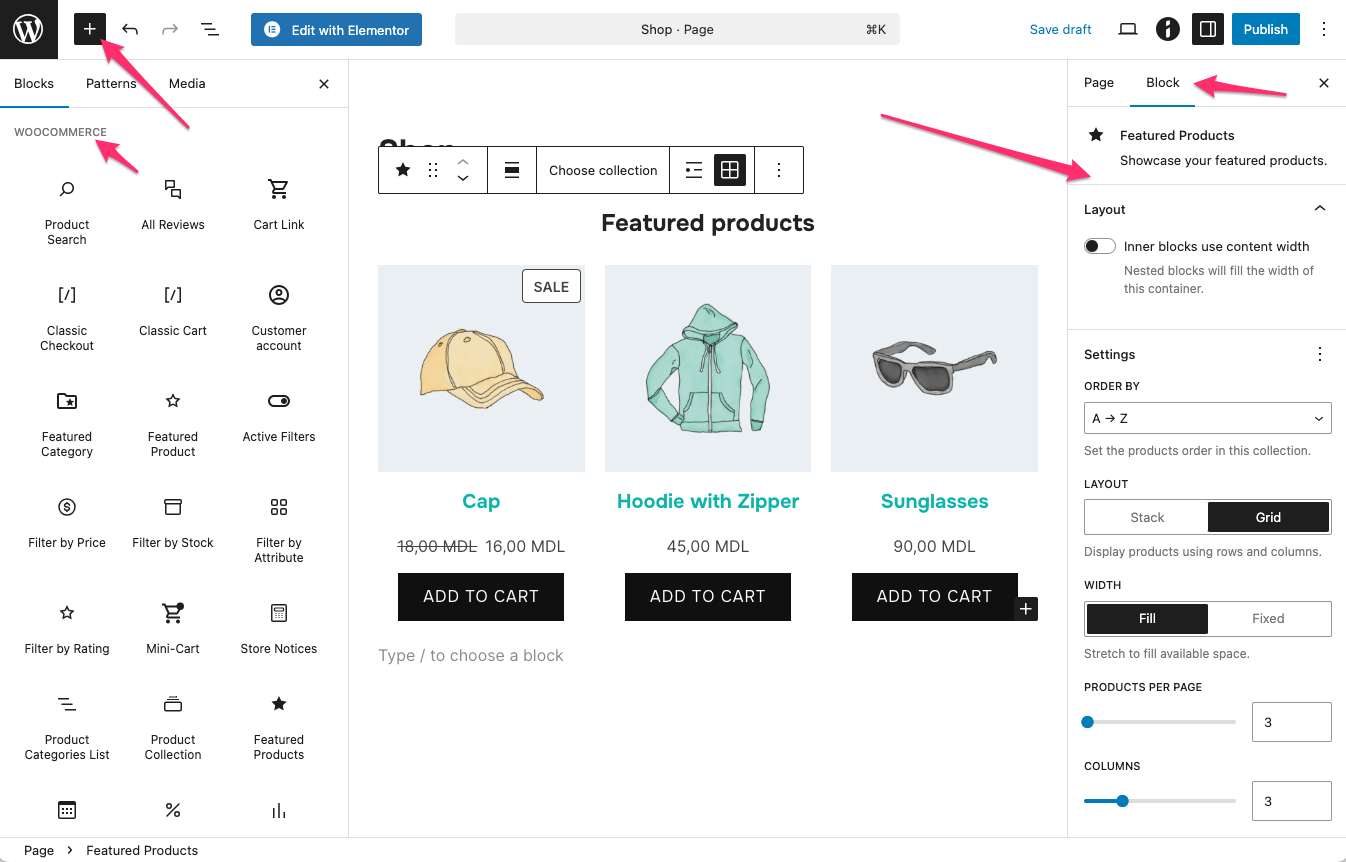
Common blocks include:

  • Featured Category
  • Featured Products
  • Product Collection
  • Cart
  • Filter

After adding a block, use the right sidebar of the editor to customize its layout, filters, and display options.


Many advanced features, payment options, shipping settings, and checkout behaviors are handled directly through the WooCommerce plugin itself.

For more advanced store management and customization, we recommend consulting the official WooCommerce documentation.


See also:
What Is WooCommerce? Understanding the Basics
How to Edit the WooCommerce Shop Page Using Elementor

Last updated on September 25, 2025